|
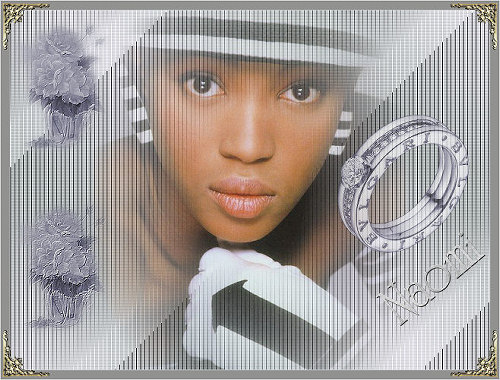
Naomi
All
other materials available
Here
Materials 1 graphic and 3 tubes, mask 20-20
Save the materials in their designated folders
Take this arrow as a reminder where you are at
Open the graphic and tubes in PSP
1 - Open a New image 800 wide and 600 high
5 -Adjust – Blur – Gaussian Blur - 20
7 - Select Raster 2 layer in your layers palette; Effects – Texture effects – Blinds W 5 - O 41 – Color = White, Horizontal checked; Effects - Filters Unlimited 2 – Andrews Filters 8 – Tow the Line – Layers – Merge – Merge visible
9 - Open the tube Ring; Image – Resize – 300px high and the width will self adjust; Edit – Copy – Paste as new layer; Colorize
11 - Image – Add borders - 1-pixel#d8d7d7 - 15 pixels #91918f - 1pixel #d8d7df
12 - Open your corner tube; Edit – Paste as new layer – slide it carefully into the top left corner; Effects – Simple filters – Top Left Mirror ; your corners are now set where they should be; Merge all layers
13 - Open a nice looking font of your choice and add the name Naomi or a watermark or your own name – add a Drop shadow of your choice; Image – Rotate – Free - angle 25 - Left
14 - Image – Resize to size of your choice – mine is 500 wide; Save as JPEG – Compression set to 20
In any event I hope that you will enjoy this tutorial and that it was written easy enough for you to follow it through
Good luck and greetings from Hanny
|