|
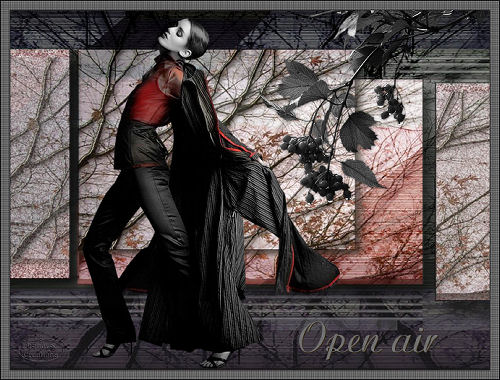
Open air
All other materials available Here
Filters – None
|
Open air
All other materials available Here
Filters:Filters – None
Materials :
2 tubes and an image
Save them into the file of your choice
Open in psp
Take along this arrow to where remember you have remained

1 - Open a new image - 800 x 600
Selections / Select all
2 - Open The_Chemistry_Of_Autumn_colors.jpg Edit / Copy
3 - Edit / paste into selection
Select None
4 - Open hmo_friday.pspimage Image / greyscale
5 - Ediit / Copy
Edit / Paste as new layer
6 - Place it at the top almost all the way to the right (See my sample tag)
7 - Open jet-woman-13 december-2007.pspimage Image / mirror
8 - Ediit / Copy
Edit / Paste as new layer.
9 - Image / resize 98 % 2 times make sure all layers is NOT checked
10 - Aline her knee with the first thick line (see example)
11 - Merge / merge all layers
12 - Image / add borders 1-pixel #100f14
13 - mage / add borders 15-pixels-#6f6f6f
14 - Image / add borders 1-pixel#100f14
15 - Select the thick border with your magic wand tool
16 - Effects / texture effects / blinds Width: 2 Opacity: 38
color: #100f14 both boxes checked
17 - Repeat but this time have horizontal unchecked
18 - Select / selct none
19 - Go to the a tool write a nice text with a nice font
20 - Effects / drop shadow 1-1-100-1
Color #100f14 and add your watermark
21 - Merge / merge all layers
22 - Image / resize to a height of 525 the width adjusts itself.
23 - File / save as jpeg optimization compression 20
Your lesson is done
Have fun with it
Love, Hanny