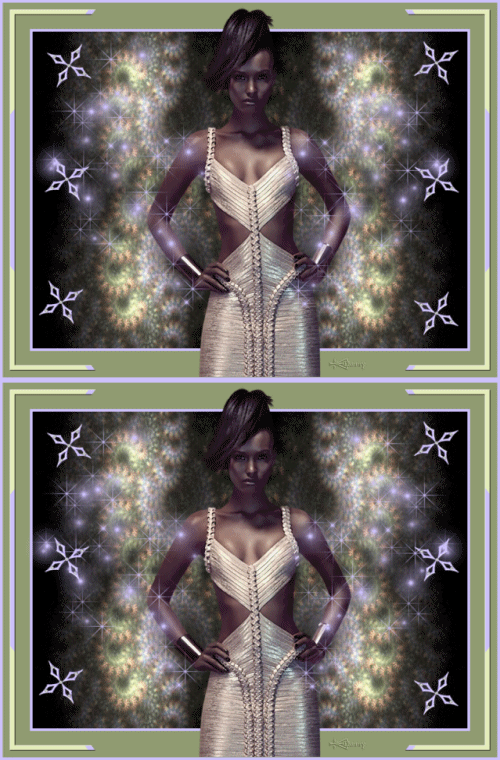
1 -
Open a new transparent image 800 width and 600 height,
select all
2 - Open
wallpaper digital
3 - Edit copy, edit paste in selection
4 -
Selections – select none
5 - Effects
- Plugin VM Toolbox Instanttile 77 31
6 - Add
borders: 5 px with color #cec2fe
7 -
Add borders:50 px with color #909b71
8 - Add borders: 5 px with color #cec2fe
9 -
Selections: select all
10 -
Selections: modify: contract with 18
11 - Layers: new raster layer
12 - Fill
with color #cec2fe
13 - Selections:
modify and contract with 10 and push the
delete button on your keyboard
14 - Selections: none and select the new border with your
magic wand
15 -
Effects
Reflexy- Plugins Caleidoscoop
16 - Put all on 0, except right top one on 10, color checked
on color #e4eeba
17 - Effects 3D effects, inner bevel with the standard
settings, color is #ffffff
18 -
Selections:
none
19 -
Repeat:
Layers merge - merge all
20 - Open svb lady tube Syl
21 -
Image – resized – 700 height, width adjusts itself
22 - Edit copy, edit pasted as new layer, put it nice in
the
middle – see for example
23 - Open
accent – image - resize 200 height, width adjusts
itself
24 - Edit
copy, edit paste as new layer
25 - Image: free rotate, left 15 degrees, nothing else
marked
26 - Layers duplicate repeatedly until you have them all
27 -
Put
all on the right place
28 -
Add
your name or watermark
29 -
Edit
– copy merged
30 -
Open
your Animation Shop
31 -
Edit
– paste as new image
32 - Edit – paste – select all
33 - Duplicate until you have 6 frames
34 -
Edit
– select all
35 - Open Sparkles Pauline
36 - Edit – select all
37 - Place the first also in frame 1 left, then mirror the
animation. And again in frame 1 right
38-
View
animation. You can now see your animation
39 -
Animation – frame properties. Put this at 20
(Look if the number is good mentioned just below each
frame!)
40- All correct?
41 -Resize animation: 500 height and width adjusts itself
42 -File – save and give your creation a name
43 - Save – next – next – next – finish.
This is a simple lesson with a nice endeffect. I do hope
you have had a lot of fun with this lesson.
Translate Rina
Back

