Take this arrow as a reminder where you are at

1 - Open a new image 800 x 600 pixels
2 - Open the tube of the lady and remove the watermark
3 - Take
your dropper tool and choose a light and a dark colour
I took #-e2d4ca and #-72605c
4 - Make a gradient linear angle 45 repeat 3 invert checked and
flood fill you image
5 - Adjust, blur, gaussian blur, radius 20
6 - Effects, texture effects, fur
with these settings B-71 D-73 L-94 T-216
8 - Open tube Mtm surralisme and remove the watermark
9 - Image resize all layers checked height 600 pixels width will
adjust
10-Image mirror , edit copy paste as new layer
11 - Open the tube of the lady, copy paste as new layer put her on
the left
12 - Image, add border,
1-pixel-#e8d9d2 -15-pixels-#a59a99 1-pixel-#e8d9d2
13 - take your magic wand and select the border, effects, Greg’sFactory Vol 2 Poolshadow
14-
14- with these settings all on 50 only the last one on 128
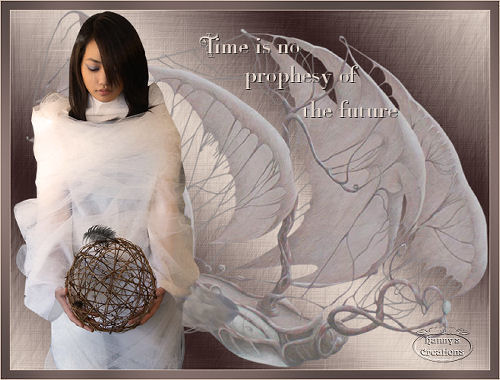
15 - Take your text tool and write a text, mine is pixel size 30
16 -use a thin font and put your name or watermark on it
17 - Layers, merge, merge all ( flatten)
18 - Image resize, 500 pixels high width will adjust
19 - File, export file, Jpeg optimizer, ( my compression value is
always 20 ) and save as jpeg
Your image is done. I hope my lesson was fun to do and
understandable
Hugs Hanny
Angel my English translator
Back