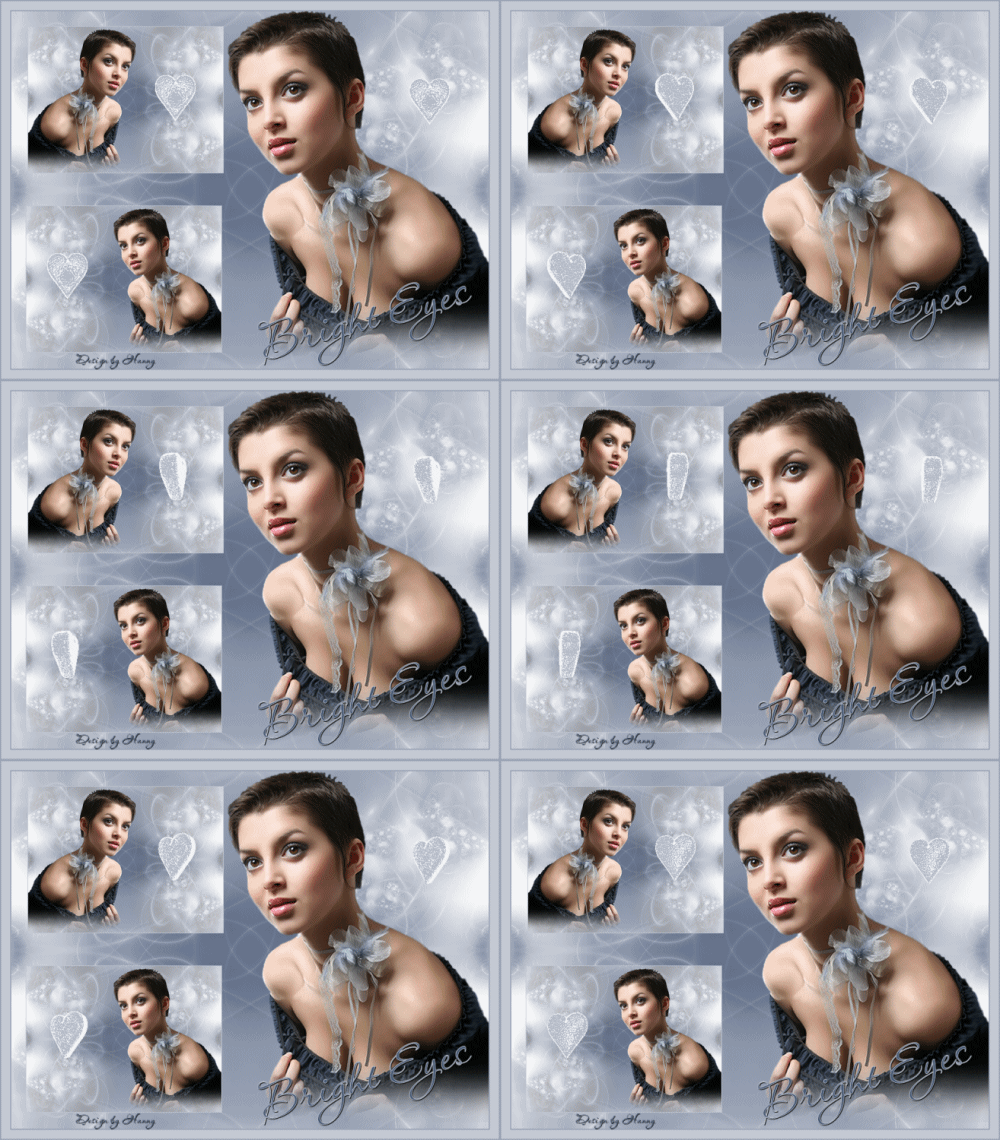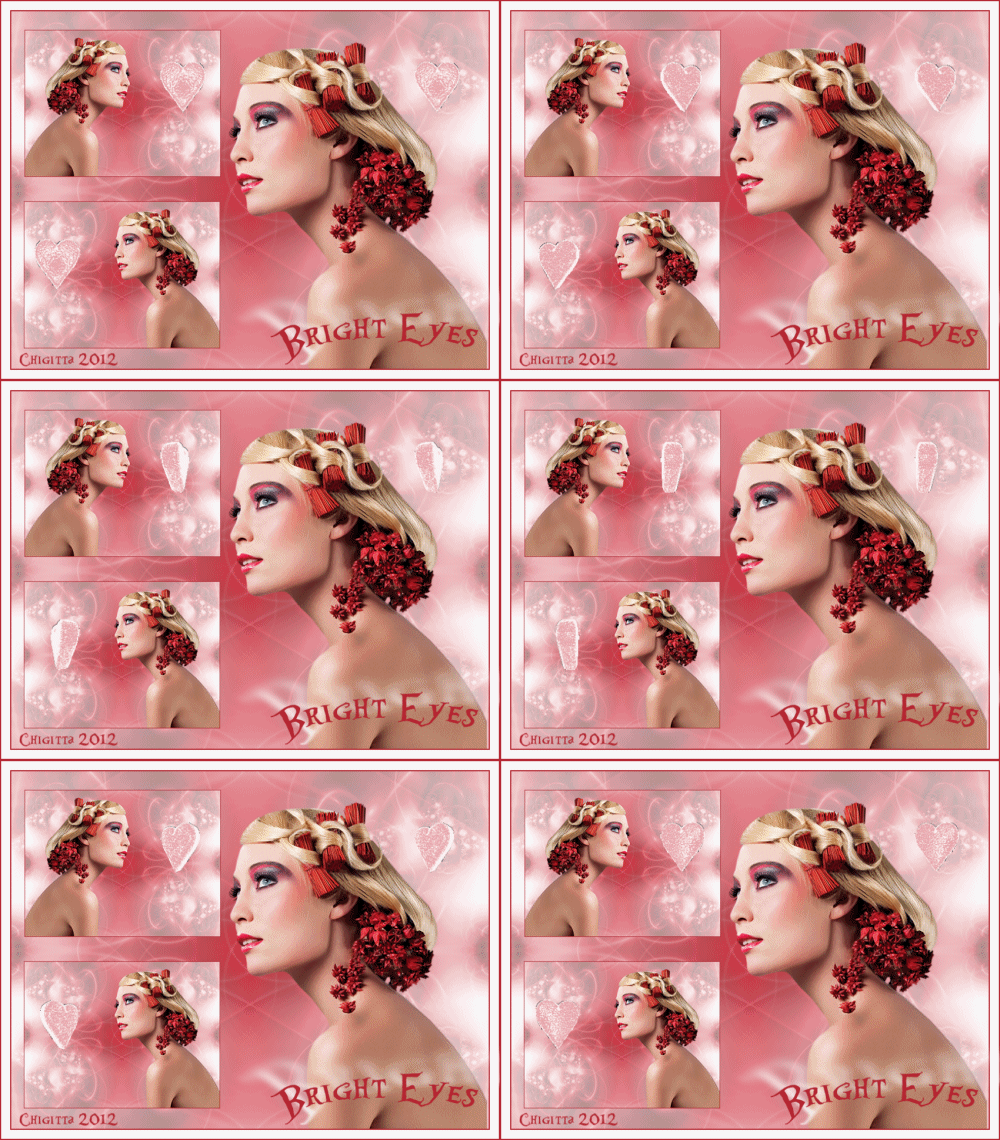
1 - Open a transparent image of 800 width and 600 height,
select all
2 - Open the background Abstract: white-16981
3 - Edit copy - edit copy and paste in selection: select
none
4- Adjust hue and saturation - col0reds. Fill in K:156 and
V:41
5- Effects - Simple 4 way average; copy and save one
6- Open 1268- Luzcristina image
7- Resize - 650 pixels height; width will adjust itself
8 -Edit - copy - paste as new layer – put left
9 - Image - add borders – symmetric - 2 pixels in color
#9da6b7
10 -Image - resize with 80%, mark at all layers. Repeat this
4 times.
Take your copy (see 5)
11- Edit - copy. paste as new layer.
12 - Layers- copy and mirror
13 - Open imagine 1268 Luzcristina- resize: 650 pixels
height; width will adjust itself
14 - Edit copy - edit copy - paste as a new layer
15 - Mirror and try to put properly at the right
16 - Image borders: 2 px with color #9da6b7;
17 - Image borders: 2 px with color #c5cad5;
18 -Image borders: 2 px with color #9da6b7
19-
Layers - merge - merge all
20 - Layers - new raster layer
21 - Open your tool- add your name or your watermark- with
the font you like;
22- Merged copy
23 - Edit – merged copy
24- . Open Animationshop and click with your right
mouse in the gray part and then you will see “paste as new
animation”
25 - If you like you can change the size of your picture
something smaller
26 - Edit copy– select all
27 -
Open your gif Heart light blue;
28- I have coloured and ready made it for you
29- Paste after current frame till you have as many frames
in your animation
30 - Edit – select all
31 - Back to your tag you click with your mouse in frame 1
and paste in the gifts in the first selected frame
` 32 - You
have to do this three times
` 33- Click the View button.
34- You find your animation a little too quick?
Then change it.
Go to Frame properties. I have taken number 50, but if you
choose a higher number then you get less speed. This you
have to try.
35 - You are satisfied?
36 - Save as.. . and put it in the folder your choice. You
have done...,
Very nice lesson, with a beautiful result
Hugs
Hanny
Translate from Rina Thank you
Back

