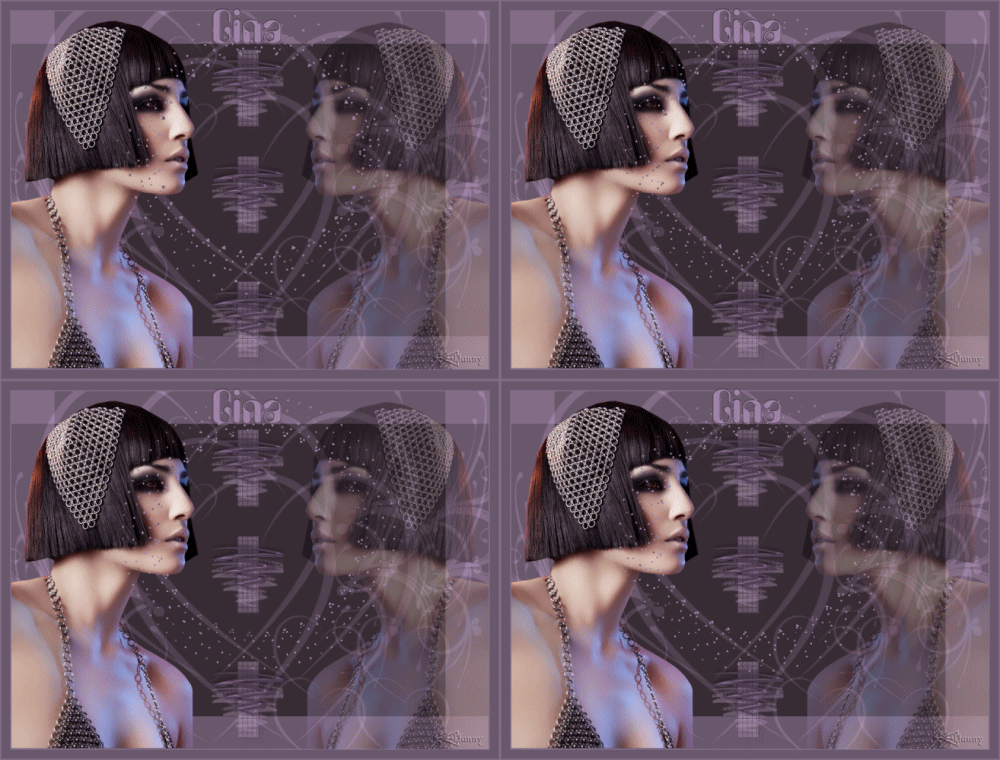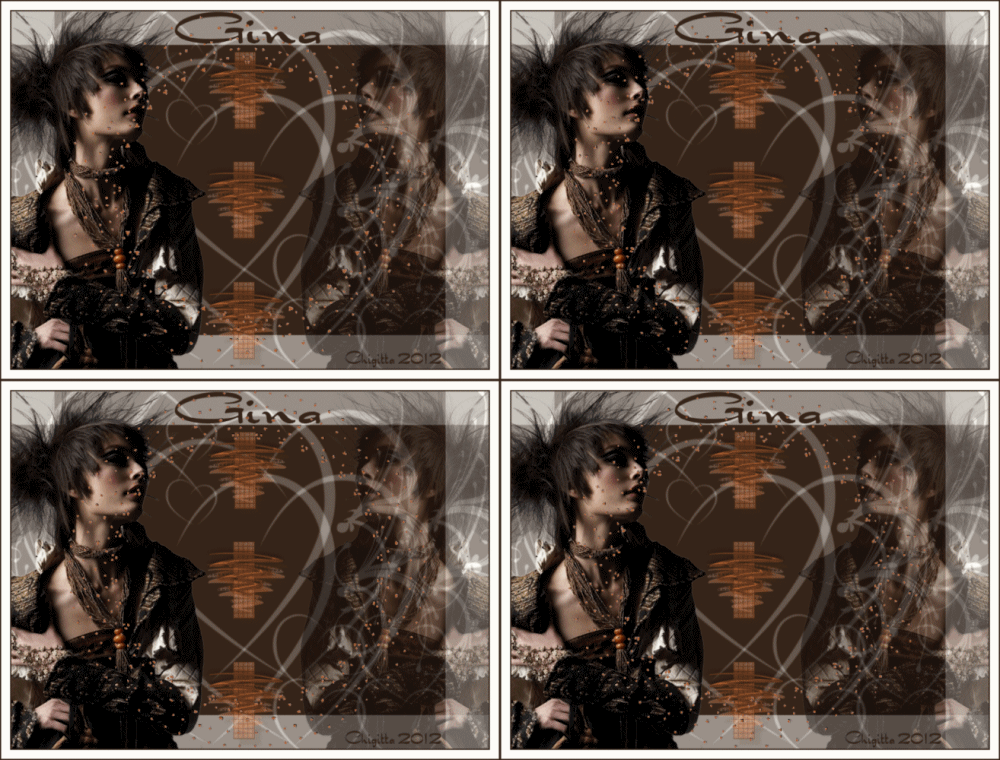
Are you ready? Then we can start.
1 - Open a new image Width 800 Height 600
2 - Fill with color #382d35
3 - Layers – new raster layer
4 - Fill with color #ao85a6
5 - Open the mask in PSP
6 - Layers – new mask layer from image
7 - Layers – merge – merge group
8 - Effects – Toadies: What are you – put this at 45
9 - Open Accents – take your Crop Tool and choose the
Accent that you need
10 - Adjust – Hue and saturation
11 - Colorize with color #ao85a6 - K 206 and V 40
12 - Edit – copy – paste as a new layer – put in the
middle. Duplicate it two times - and put nicely among
themselves
13 - Open Gina tube Femme2001
14 - Image resize Height 650 – Width will adjust itself
15 - Edit – copy and paste as a new layer - choose a nice
left position for the tube
16 - Layers duplicate and mirror. Position is right
17 - Put the opacity for this layer on 26
18 - Layers merge, merge all
19 – Image – add borders - symmetric- 2 pixels color #856e89
20 – Image – add borders - symmetric- 15 pixels color
#6b586d
21 – Image – add borders - symmetric- 2 pixels color
#6b586d
22 - Layers merge, merge all
23 - Layers – new raster layer
24 – Activate your text tool and put your watermark with a
nice font
25 - Edit – copy merged
26 - Open your Animation Shop – if you click with your
right mouse-part in the grey section, you will see “paste as
a new animation”
27 - With the little scrollbar on your mouse it is
possible to reduce the image
28 - Edit copy – edit select all
29 - Open animation Blinkset 4a
30 - The animation is already finished and coloured
31 -
Paste after current frame till you have as many frames as in
your animation
32 - After this: edit and select the animation
33 - Resize animation Height 500, Width adjusts itself
34 - Click with your mouse in frame 1 and put the
animations in frame 1 of your imagine
35 -
View - Animation. You can look at your animation
36 - Is the animation too quick? I left this as it was –
then you can change it this way:
37 - Go to Animation – frame properties – a higher
number reduces speed.
38 - Is it to your liking? Save as – give your creation a
name and put in a folder at choice.
Nice easy lesson with a beautiful result. I hope that you
have had a lot of fun to create this tutorial.
Greetings Hanny
Translate Rina
Back

