1 - Open a new transparent image 800 width and 600 height
2 - Selections – select all
3 - Open Jhanna_234_background
4 - Copy - edit paste into selection
5 - Open Jhanna_234_misted tube
6 - Image - resize 600 height – width adjusts
7 - Edit – copy - paste as new layer
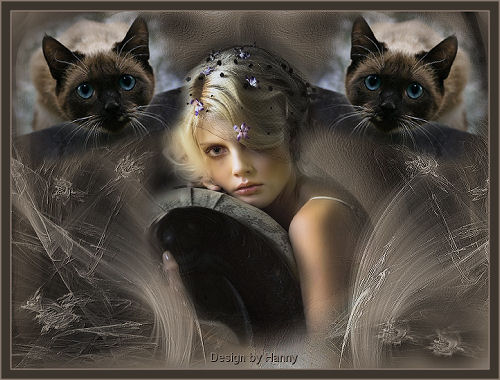
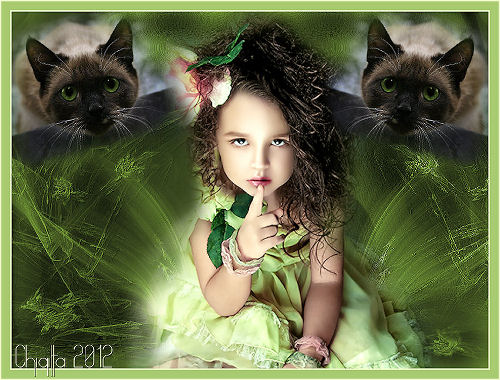
8 - Image deserves a beautiful place, take a look how I did
it
9 - Open 344-cat- LB + tubes
10 - Image - resize – 250 height – width adjusts
11 - Image – mirror
12 - Edit – copy - paste as new layer
13 - Image – resize – 200 height – width adjusts
14 - Image – rotate - free rotate
- only left – choice checked on 15.00
15 -
Edit – copy - paste as new layer
16 - Put it in the top of left corner
17 - Layers – duplicate and mirror
18 - Let stand unchanged, well done so
19 - Layers - merge – merge all
20 - Image – add borders - 2px with color #897a6f
21 - Image – add borders - 15px with color #3c352d
22 - Image – add borders - 2px with color #897a6f
23 - Layers – new raster layer
24 -
Use your writing tool and write with a nice font your name,
watermark or initials
25 -
Layers - merge all layers
26- Resize height 550 – width adjusts
27 - Save it as jpg -use as compression-value 20
Very nice lesson with a beautiful effect.
Your tag is done. Did you enjoy making the lesson? I do hope
so.
Love, Hanny
Translate Rina
Thank you
Back