|
Sexy Cowgirl
All other materials available Here
A small animation, a tube, font and a mask Put the materials in the folder they belong Open all in psp Save the materials in their designated folders
Take this arrow as a reminder where you are at
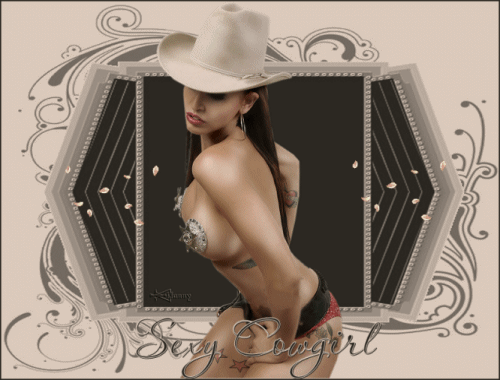
1 - Open a new image Width 800, Height 600 2 - Flood fill with # 282828 3 – Layers- new Raster layer 4 – Flood fill with #ddcbbd 5 – Open your mask layer 6 - Activate your image, Layers- new masklayer from 7 – Find the mask sg_ chevron_sites in your drop down window, source luminance checked 8 – Layers – merge – merge all layers (flatten) 9 – Open SexyCowGirl_byQueirida 190211 tube 10 – Image resize Height 600, Width will adjust 11 - Edit – copy – paste as new layer Do not move 12 – Add name and watermark 13 - Layers – merge – merge all layers (flatten) 14 – Image-add borders 2 pixels #282828 15 - Edit-merged copy 16– Open Animatieshop, click in the grey part with the rightmouse button and paste as new animation 17 – With the Mouse Wheel, you can reduce the image a bit 18 – Edit- select all-copy 19 - Open small animation and see how many frames it has 20 – Activate your image again and paste after current frame as many frames as the small animation 21- Activate small animation – Edit – Select all and copy 22 – Click with the Mouse button in frame 1 and paste the gif into frame 1 of your image, repeat as much as you want, see example 23 – View animation button 24 – If it’s too fast, go to Animation – properties for frame and change the number, how higher the number, how slower it will get 25 – If your satisfied, save as…….. In the folder of you choice Nice lesson, with small animation
The lesson is done, have fun, love Hanny
|