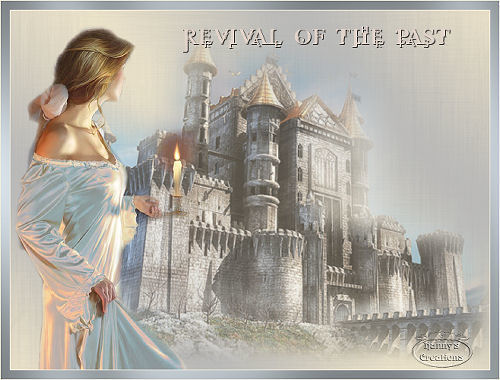
|
Revival
All other materials available Here
Needed: 2 tubes
Save the materials in their designated folders
Take this arrow as a reminder where you are at 1 - Open a new image 800 x 600 pixels
4 - Make a gradient, Linear, angle 45 repeat 3 invert checked and flood fill your image
5 - Adjust, blur, gaussian blur, radius 20
7 - With these settings blur 71-density 73-Length 94-transparancy 216
14 - With these settings ……all on 50 and the
bottom
one on 128
15 - Go to your text tool and add a text of your choice I sized mine on 30 pixels
16 - Use a thin font by your choice and add your name or anything
you like,
18 - Image resize to 500 pixels high width will adjust of any size you like
19 - File, export file, Jpeg optimizer, ( my compression value is
always 20 )
Your image is done. I hope my lesson was fun to do and understandable
Angel my English translator
|
