|
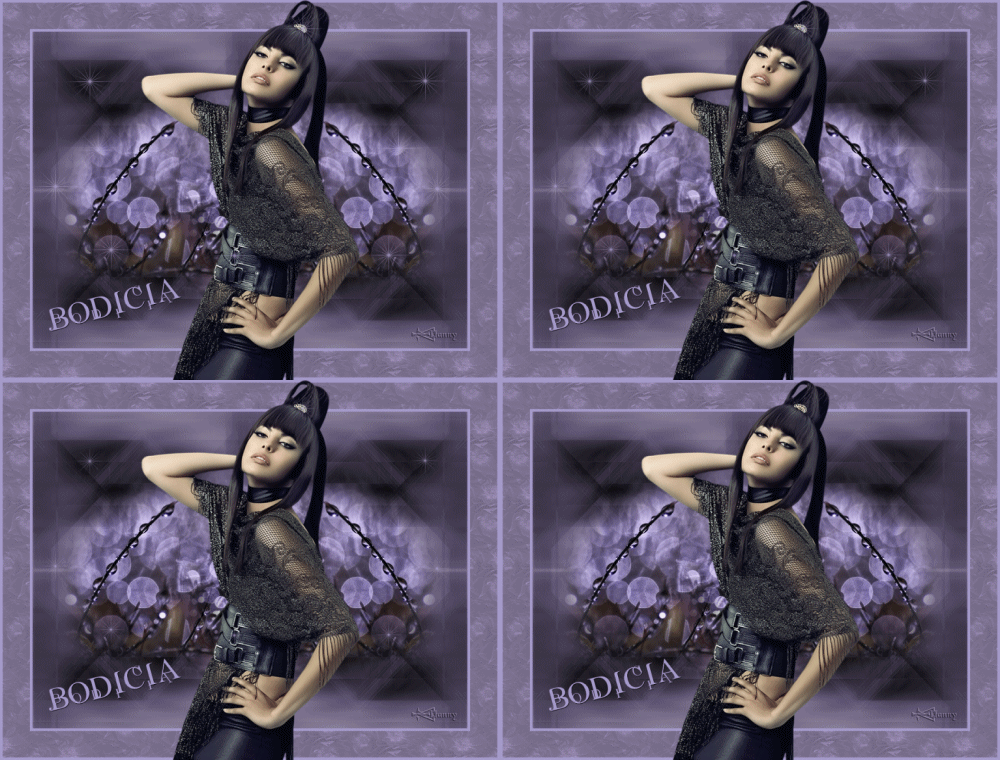
Bodicia
Plug-ins: Here Effects VM Toolbox Instant Tile A small animation – a tube – a misted tube and a Font Put the materials in the folder they belong Open all in psp Put the materials in the folder they belong Open everything in psp
Save the materials in their designated folders
Take this arrow as a reminder where you are at
1 - Open a new image Width 800, 600 Height, select all 2 – Open K@rine_dream_Pretty_woman_Frevier_2011 Make a copy with Shift D and minimize for now 3 – Remove Watermark and tube 4 – Open Background – Image- Left rotate select all 5 - Edit – copy, paste in to selection 6 – Select none 7 - Adjust – Hue and Saturation – colorize H 183 - S 36 8 – Effects – Plug-ins VN Toolbox Instant tile 77 and 31 9 – Open Blendingmate misted tube 10 – Edit – copy, paste as new layer Move it a bit to the left 11 – Layers – duplicate - mirror 12 - Layers – merge – merge all layers (flatten) 13 – Image - add borders 5 pixels # a69ccc 14 – Image - add borders 50 pixels # 766c8f 15 - Image - add borders 5 pixels # 766c8f 16 – Select large border with your magic wand 17 – Material pallet – find texture in your foreground color 18 – Click with the droppertool and left mousebutton in the light area color# a69ccc 19 – Floodfill the selection 20 – Open minimized Copy tube of the lady K@rine_dream_Pretty_woman_Frevier_2011 21 - Remove watermark – image resize Height 725 , Width will adjust itself 22 - Edit – copy, paste as new layer, put it in position, see example 23 - Layers – merge – merge all layers (flatten) 24 – Open text tool and add text size 72 25 – Give it a drop shadow Add watermark 26 - Layers – merge – merge all layers (flatten) 27 - Edit – merged copy 28 – Open Animation shop - paste as new animation 29 – Reduce size with the mouse Wheel 30 – Edit – Select all - Copy 31 - Open small animation – see how many frames it has 32 – Back to your image – paste after current frame , repeat as many times till you have the same numbers of frames as your gif animation 33- Activate your gif animation , Select all –Copy 34– Back to your image – select all – go to your first frame and paste animation , repeat till you’re satisfied , see example 35 – View Animation 36 – If it’s too fast, select all frames – Frame properties and large the number , the higher the number the slower your animation will be 37 – Satisfied? Save as…. And select folder of choice Nice lesson with a small animation
The lesson is done, love Hanny
Translate Rita
|
