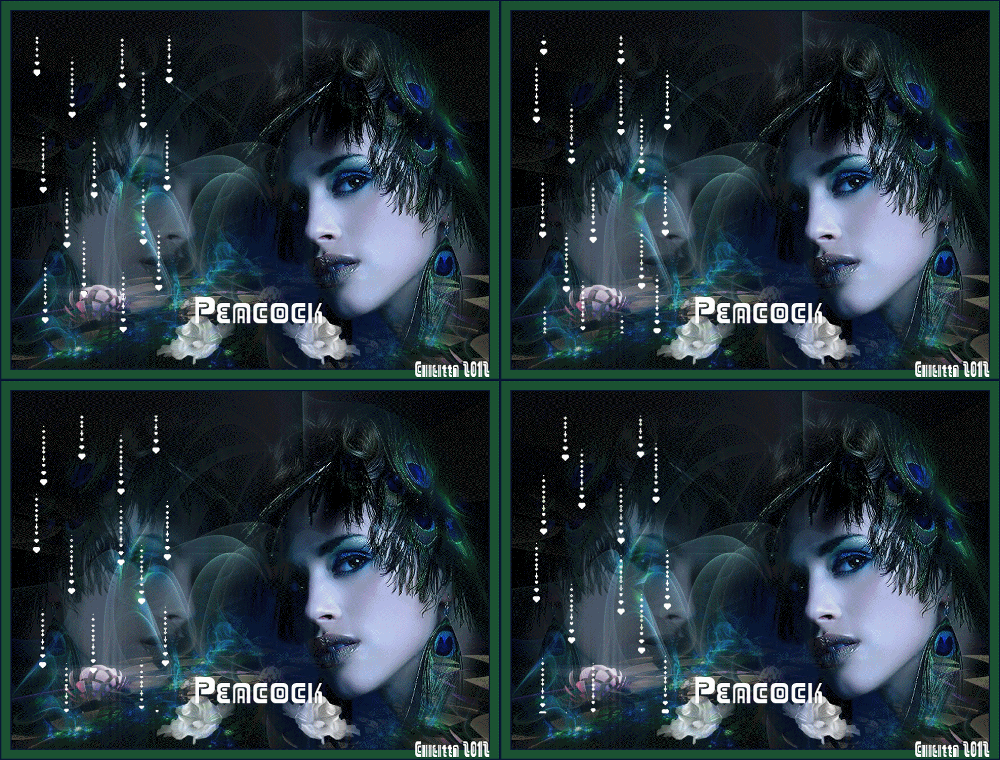
1 - Open a new image width 800 width and 600 height –
select all
2 - Open the background
3 - Edit – copy – edit paste into selection
4 - Open LexHa_ Pefectfac_ Juli 2010
5 - Edit – copy – edit paste as a new layer
6 - Layers duplicate
7 - Layers mirror
8 - Layers palette – set the layer opacity to 30
9 - Open Ginatubefleurs 8
10 - Image - resize 100 – height adjusts
11 - Edit copy, edit paste as new layer
12 - Look if it has a nice position
13 - Layers duplicate
14 - Layers mirror
15 - And of course again - see if it has the good position
16 - Layers merge – merge all
17 - Add borders:
2 px with color: #0181aa
15 px with color:#1c1d22
2 px with color:#0181aa
18 – Open your text tool - add your name, initials or
watermark - use a nice font
19 - Effects - 3D effects - Drop shadow
20 - Layers merge - merge all
21 - Image resize- I chose 550 height, width adjusts
22 - Edit – copy merged
23 - Open your Animation Shop – if you click with
your right mouse-part in the grey section, you will see
“paste as a new animation”
24 - With the little scrollbar on your mouse it is possible
to reduce the image
25 - Edit copy – edit select all
26 - Open your gift and look how many frames it has
27 - Activate your image again and
paste after current frame till you have as many frames as
you have in your gift
28 - Activate your gift -
edit – select all
29 - Click with your mouse in frame 1 – and put the gifts
in frame 1 of your image
30 - View - Animation.
Now you can look at your animation. Is the animation too
quick? You you can change it in this way: Go to Animation
– frame properties – a higher number reduces speed.
31 - Resize your animation in height 500 – you will see
that the width adjust
32 - Do you like it? Than save as…. – give your creation a
name and put in a folder at choice
33 - Nice lesson with little animations and a very nice
effect
34 - Good luck with this lesson.
Much love from Hanny
Translate Rina
Thank you
Back

