1- Open a new transparent image of 800 width
and 600 height, select all
2 - Open the background Abstract wallpaper 62
3 -
Edit copy edit paste into selection;
select none
4 - Adjust – Hue and Saturation – Colorize K
170 - V 9
5 - Plugin:
VM Toolbox Instant Tile
6 - Colorize: see point 4
7 - Plugins: Effect Toadies *Sucking Toad*
Bevel 11.2, standard
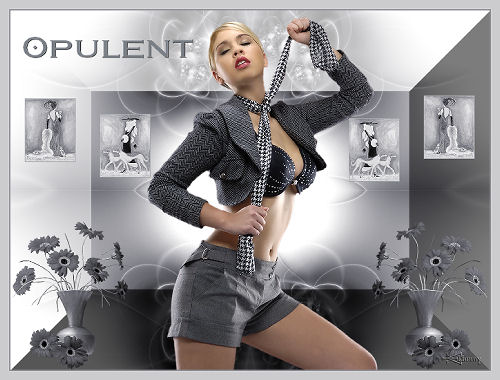
8 - Open Femme-Fatale- III-Karen-Dupr-106033
9 - Hue and Saturation- Colorize: same as
point 4:
resize image 80%, repeat this 6x
10 - Image - add border 1 px # 7a7f86
11 - Edit - copy
edit - paste as new layer
12 - Layers duplicate and image mirror
13 - Open Karen Dupr –Femme Fatale I_106031
14 - Image resize in 80%- do this 6 x.
Hue and saturation-colorize: same as point 4
15 - Image - add borders
1 pixel # 7a7f86
16 - Edit copy, edit paste as new layer
17 - Put it on a nice place
18 - Layers duplicate and image mirror
19 - Open Mist- 2BRAIN MC CARTHIJ _
GERBERAS.
20 - Image resize 200 height, width will
adjust.
Hue and saturation- colorize: same as point 4
21 - Edit-copy; edit-paste as a new layer
22 - And choose a nice place
23 - Layers duplicate and image mirror
24 - Open m-ex94:” the lady”
25 - Image resize with 600 height, width
will adjust
26 - Edit- copy, edit- paste as new layer
27 - Move it a little down
28 - Layers merge/ Merge all
29 - Layers–new raster layer
30 - Open your tool and place your name,
watermark or other text with a nice font
31 - Or you can take - if you like - a nice
Wordart
32 - Image -add borders symmetic –2 px with
color # 7a7f86;
33 - Image-add borders symmetic –15 px with
color #cccccf;
34 - Image- add borders symmetic – 2 px with
color # 7a7f86
35 - Add your name or watermark
36 - Layers-merge –merge all
37 - Image–resize with 550 height; width will
adjust
38 - Give your creation a name and save as
JPG- resize all layers checked and use a compressionvalue of
20.
An easy and nice lesson with a beautiful
effect.
Your done!
Hanny
Translate From Rina
Back