|
Live
All other materials available : Hier
Plug ins no 4 Tubes and a background Put the materials in the folder they belong
|
Live
All other materials available : Hier
Plug ins no
4 Tubes and a background
Put the materials in the folder they belong
Open in psp
Take along this arrow to where remember you have remained

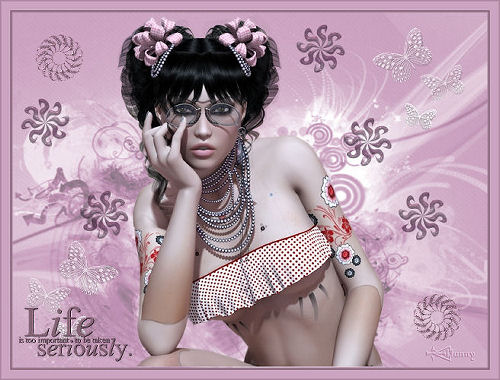
1 - Open a new image Width 800, 600 Height, select all
2 – Open background walpaper 4_55 618
3 – Edit-copy-paste in to selection
Select none
4 –Adjust – hue and saturation colorize H 224 S 74
5 – Layer opacity 65
6 – Open TJ_Girl_388
7 – Image- resize
8 – Height 600 , Width will adjust
9 – Edit-copy-paste as new layer
10 – Put it in position
11– Open papillons_doceur_fairymist
12 - Edit-copy-paste as new layer
13 - Move her to the upper right corner
14 – Layers – duplicate, move it to the lower left corner
15 – Open Accent_flower06_AS
16 - Edit-copy-paste as new layer
17 - Move it to the upper left corner
18 – Layers - duplicate
19- Move it to the lower right corner
20 – Open Accent_flower07_AS
21 – Edit-copy-paste as new layer
22 – Layer opacity 63
23 – Layers Duplicate –move in position
24 –Repeat till there are 5, see example
25 - Layers-merge-merge all layers (flatten)
26 – Layers- new raster layer
27 - – Select text tool and add a name
28 – Or a nice wordart if you want
29 – Add borders 2 pixels # d5b3cc
30 – Add borders 15 pixels # 836273
31 - Add borders 2 pixels# d5b3cc
32 – Add Watermark
33 - Layers-merge-merge all layers (flatten)
34 - Image- resize Height 500 Width will adjust
35 – Save as jpg compression value 2o
Very nice lesson
With a beautiful result
The lesson is done, have fun, love Hanny
Translate Rita