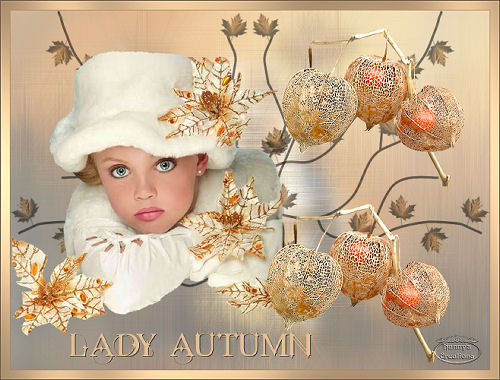
1 - Open a New Image 800 wide - 600 high, SelectAl
2 - Open the graphic1430_jpg background
3 - Edit - Copy - Paste into Selection,
Select None
4 - Effects - Texture Effects- Fur (no
filter) B 71 - D 73 - L 94 - T216
Layer Opacity lowered to 55
5 - Open tube
@nn_171006_Tube made byAnn-leaves_Td.psp
6 - Edit - Copy - Paste as New Layer, Move
it to the right
7 - Adjust - Colorize - Hue 23 -
Saturation 151
8 - Layers -
Duplicate, Image - Mirror
9 - Open Cmlsbloem
009a80-pspimage
10 - Remove watermark, Edit - Copy - Paste
as New Layer
11 - Image - Resize 80%- all layers not
checked
12 - Open
Mtm_lady_216-april.pspimage, Edit- Copy
13 - Paste as New Layer, Move her to the
middle left
14 - Go to your Layers palette and activate
layer Cmlsbloem -
Duplicate this layer
15 - Slide it down, see preview
16 - Go to layer Ann
Leaves- activate it and click on Eraser
tool
17 - Erase a piece of the branch below her
collar
18 - Layers - Merge All Layers
19 - Image - Add Borders1
pixel #675543_ 15 pixels #e6c094
_1pixel#675543
20 - Selectthe border with your Magic Wand
- Effects - Greg's Factory Output 2
Poolshadow - all
sliders set to 50 - bottom one 128,
SelectNone
21 - Pick up your Text tool and write your
name or a watermark on the tag
22 - Layers - Merge All Layers
23 - Image - Resize - I resized it to 500
high, width will self adjust
24 - Save as jpg, compression set to 20
Wishing you lots of
fun with this lesson, love from Hanny.
