1 - Open a new image Width 800, Height 600
2 – Select All
3 – Open Spirograph Background
4 – Edit – copy – paste in to selection
Select none
5 – Adjust Hue and Saturation H 161 – S 56
6 – Open instyle 2
7 – Image – resize Height 600, Width will adjust
8 – Edit – copy - and paste as new layer
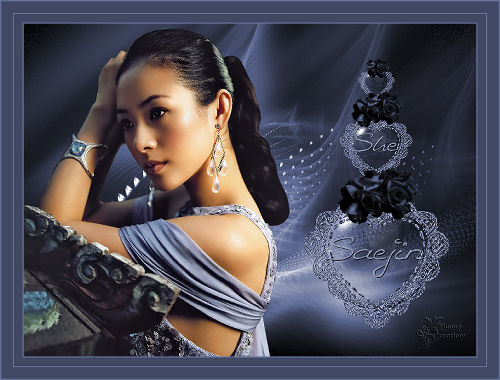
9 – For placement see example
10 – Open gg_heart 36, repeat point 5
12 - Edit – copy - and paste as new layer
13 – Move it to the left
14 – Layers merge – merge all layers (flatten)
15 – Image – add borders 2 pixels #
6d78a3
16- – Image – add borders 15 pixels #
404864
17 - Image – add borders 2 pixels #
6d78a3
18 – Image – add borders 20 pixels #
404864
19 - Image – add borders 2 pixels # 6d78a3
20 – Foreground color null, background #6d78a3,
select your text tool find a nice font, and add a name
21 - Give it a drop shadow, color black and add watermark
22 - Image resize Height 600, Width will adjust
23 - Save as jpg compression value 2o
Nice short lesson with a beautiful result
The lesson is done, have fun, love Hanny