|
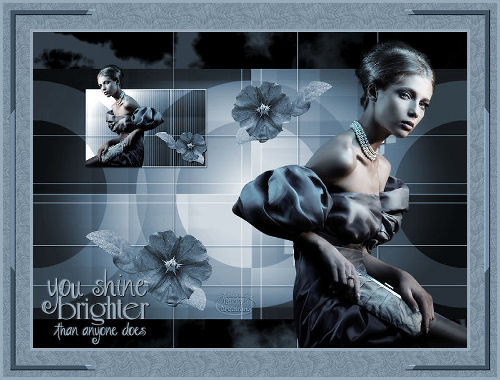
You Shine Brighter
All other materials available: Here
|
You Shine Brighter
All other materials available: Here
Save them into the file of your choice
2 Tubes ,1 texture, a background and 1 word art
Open in psp
Take along this arrow to where remember you have remained

1 - Open a new image Width 800, Height 600, select all
2 – Open GFX_Generator 2 background
3 – Edit-Copy-Paste in selection
4 – Adjust- Hue and Saturation – Colorize H 147 - S 52
5 – Open@nn_050309_photos-Sissy_tdstudio Copy and minimize one
7 – Image-resize Height 200, Width will adjust
8 – Edit- Copy and paste as new layer
9 – Open@nn- 050309-photos-Sissy_tdstudio
10 - Image-resize Height 600 Width will adjust - mirror
11 - Edit- Copy and paste as new layer
12 – Open2084 flowers 39 AR-881 Alejandra Rosales-14-2-07
13 – Image-resize Height 200, Width will adjust
14 - Repeat point 4
15 - Edit- Copy and paste as new layer , place it to the lower left see example
16 – Layers- duplicate – image resize 80 % all layers not checked
Image mirror
17 – Move it to the upper corner , see
18 - Layer duplicate, 3 times resize t 80 % and mirror
19 - Move it next to the small lady
20 - Layers - merge- merge all layers (flatten)
21 – Image – add borders 5 pixels #97aab9
22 – Image – add borders 50 pixels #425564
23 - Image – add borders 5 pixels#97aab9
24 – Select large border with your magic wand
25 - Find texture Plaid twirl in your foreground color
26 – Click with your dropper in the #d992ac colored border
27 - Flood fill the border, select none
28 – Select all
29 – Selection contract 18
30 – Layers – new raster layer
31 – Flood fill with#845365
32 – Selection modify - contract 10
33 – Press delete button
34 – Select none, select new border with your magic wand
35 – Effects 3D effects – Reflection - Kaleidoscope
36 – Left all 0, Right and top 10 and color checked#415463
37 – 3DEffects - Outer bevel Default, color White
38 - Select none
39 - Layers - merge- merge all layers (flatten)
40 – Open wordart image 3 file – export – custom brush
41 – Save as checked and step 32
42 – layers – new Raster layer
43 – Select airbrush and find your Word Art
44 - Brush size 250 with background color#97aabg
Fore ground color locked
45 – Give it a Drop shadow, add initials and watermark
46 - – Image-resize Height 625 , Width will adjust
47 – Save as jpg compression 2o
Very nice easy lesson with a beautiful result
The lesson is done, have fun , love Hanny
Translate Rita